10 best yoga poses for tight hips
There are hundreds of postures in yoga which can help to build strength, improve mobility, and increase flexibility in the hips. Here are 10 of the most effective!
Have you ever felt like your hips just won’t move the way other people’s seem to in a yoga class? Perhaps you’ve been told you have ‘tight hips’, or you experience pain in your hips and back often. When it comes to the hips, this is a popular area of discussion in the yoga world; from an energetic perspective, the hips are said to store emotions, which could explain why poses such as pigeon pose can trigger tears or strong emotions.
For many yoga practitioners, hypermobility in the hips is all too common – being able to easily put your foot behind your head isn’t common, and those who can easily slide into poses like Hanumanasana ‘full splits’ or even Cow Face Pose may have some degree of hypermobility in the joints. For the people who feel their hips are ‘too tight’ to practice yoga, now is the time to move that belief to the side, because yoga is perfect for you! There are hundreds of postures in a yoga practice which can help to build strength, improve mobility, and increase flexibility in the hips. If you’ve been searching for the best yoga poses for tight hips, we’ve got them right here – read on!
Are your hips actually ‘tight’?
One common misconception about the hips is that it’s all about the muscles, when in fact much of the limitation in many people’s hips comes down to the bones. We’re all built slightly differently; the female sacrum is generally shorter and wider than the male sacrum, and the female pelvic bones are usually larger and broader than male’s. This is partly due to womens’ bodies having evolved to give birth, which means the hips are positioned to ‘open’ more easily. You can learn about the Female Pelvis & Yoga in Jennilee Taylor’s video here.
Both men and women are also likely to have slightly different angled hip bones and joints, which can make a Yogi Squat or ‘Malasana’ easy for some of us, and challenging for others. In these photos from Paul and Suzee Grilley, there are clear differences in the shape of the hip bones, which no amount of stretching would be able to change!
Left hip socket of two pelvises. The socket of the left specimen is pointed forward and down. The socket of the right specimen pointed sideways and nearly horizontal.
Hip sockets pointing in different directions. Therefore the range of motion in different directions will be different.
Why the hips needs strength and flexibility
So, now you know your tight hips could just be due to the shape of your bones, which is why it’s so important to listen to your body when in a yoga practice. There’s no ‘one size fits all’ when it comes to yoga poses, so never try to force yourself into an unattainable shape.
Another reason not to over-stretch the hip muscles, is because our hips need a balance of both strength and flexibility. The hips support our back and legs, and are essentially the centre of the body. Hip muscles that feel ‘tight’ are also likely to be weak, especially if much of your time is spent sitting and not using the hip muscles. Sciatica, sacroiliac joint pain, pulled muscles, and even lower back pain, knee pain and ankle issues commonly originate due to tightness and weakness in the hip muscles. When a muscle is weak, it typically ‘grips’ and holds excess tension, as well as causing compensation in other areas of the body. When we’re strong and balanced in the hips, issues often resolve themselves.
This is why building both strength and flexibility in the hips is so important, and why we’ve included a balance of strengthening and stretching in our 10 best Yoga poses for tight hips. Give them a try:
Start building hip strength with Julie Martin’s Hip Strength Sequence
Sometimes we enjoy our hip openers a bit too much and forget that we also need to stabilise and strengthen our hips equally as much. If you sit or stand for long periods in your daily life then this is an essential class for you; you’ll regain strength in the lower back by reconnecting to the external hip muscles. This strong class involves side arm planks but no standing poses. It’s all about keeping it low and grounded.
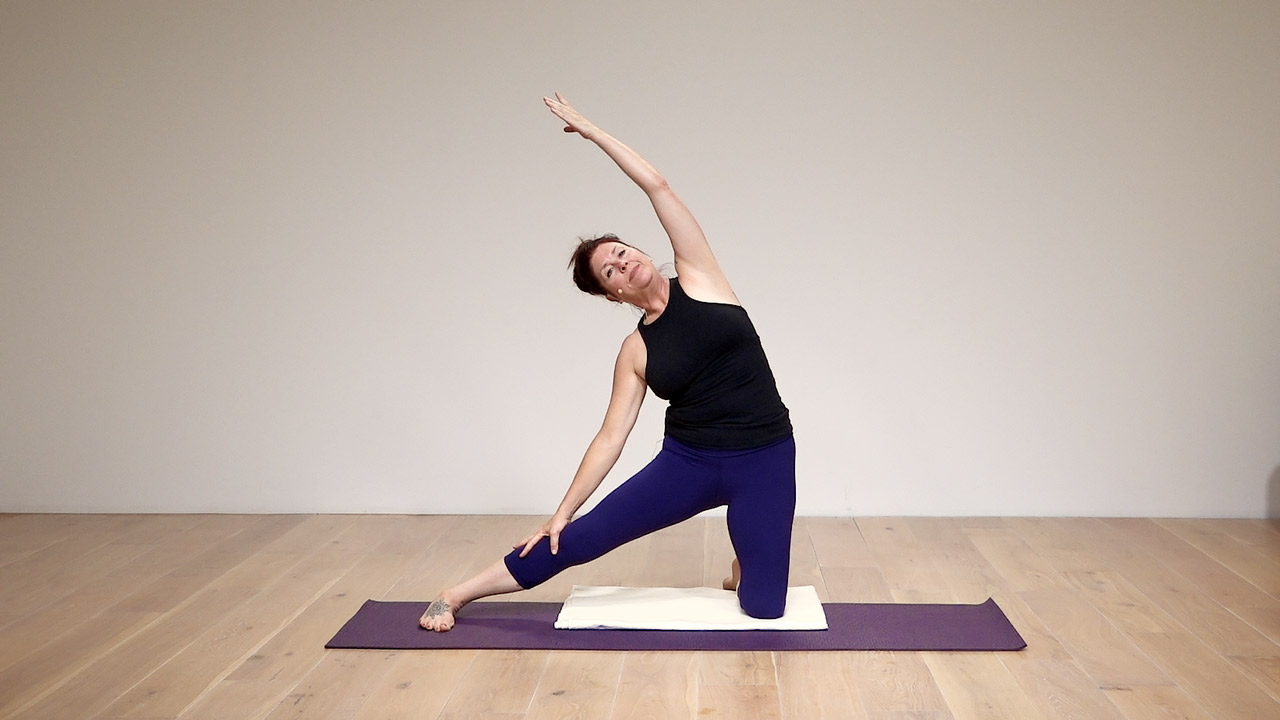
The 10 best yoga poses for tight hips
1. Samasthiti / Equal Standing Balance
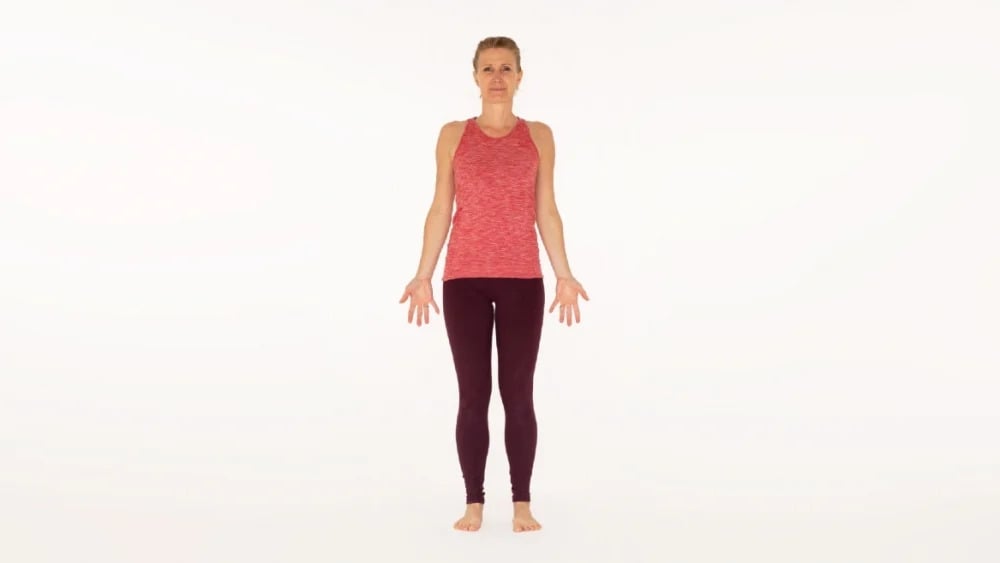
This may not look like a hip-focused posture, but by becoming aware of whether you unconsciously favour placing the weight on one side of the body can help you recognise which side may be a little weaker or tighter than the other. Most of us use one side of the body much more than the other, and this can lead to compensations and pain for seemingly unknown reasons.
To practice:
- Stand with your feet hip distance apart
- Play around with the placement of your feet – do you feel more comfortable with your feet parallel, slightly turned out, or even slightly turned in? Aim for roughly parallel with the feet if this feels comfortable in your body.
- Bring your awareness to your feet, and notice which one feels like it has more weight through it. Do you feel like you’re standing with your weight on one side of the body more than the other?
- Shift the weight gently from one foot to the other – notice which foot you feel more comfortable standing on
- Now, try to place the weight evenly between your feet
2. Utkatasana / Chair Pose
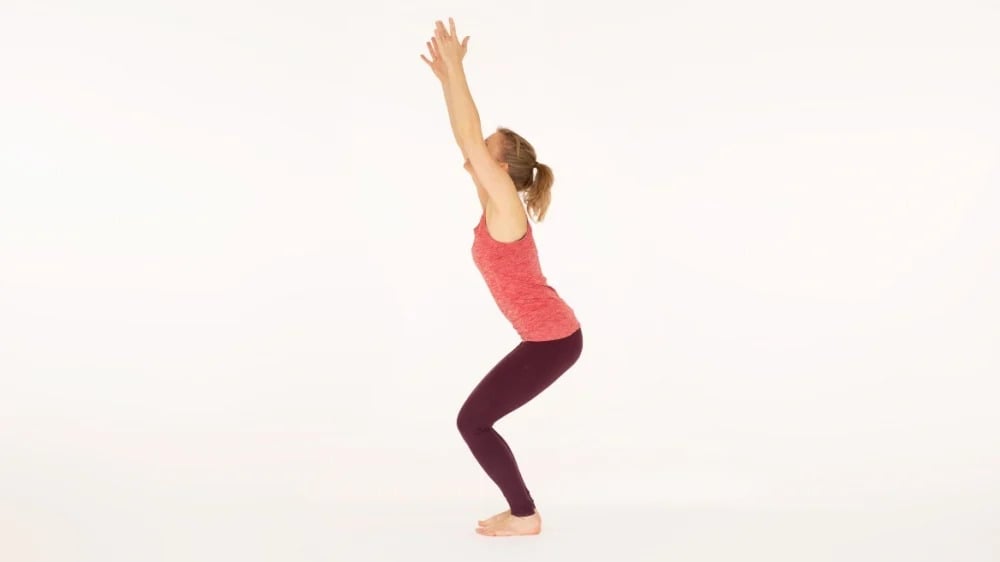
The Sanskrit name of this pose translates roughly as ‘fiery posture’, and it can certainly build some heat in the hips. Chair pose is found in Suryanamaskar B, which you can learn in Anna Sugarman’s class here. Chair pose helps build strength in the glutes, thighs, around the knees and ankles, and engages plenty of core strength too. You can vary the position by sitting lower and lower the stronger you get. To practice:
- Place your feet together for the traditional pose, or choose a distance that feels right for your body
- Sweep your arms up alongside your ears
- Bend your knees and imagine sitting back into a chair
- Hold for five breaths, then return to standing
3. Virabhadrasana 2 / Warrior 2
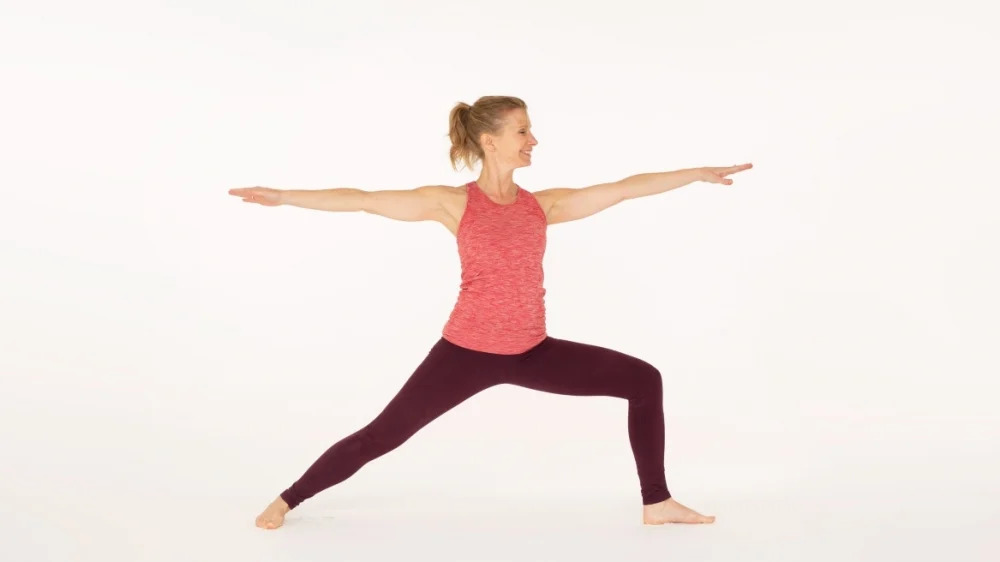
This powerful pose builds strength, mobility and flexibility in the hips, and there are lots of variations to play with too. Try different ways of moving through Warrior 2 in Powerful Warrior Flow with Marlene Henny here.
To practice:
- Step your feet wide apart on your yoga mat
- Turn your right foot forward, so your toes are pointing to the front of the mat
- Bend your right knee so that it moves over your right ankle. Be sure not to push your knee too far forward over your toes.
- Take a look at your front knee; for many people, weak hip muscles mean the knee collapses inwards, which can cause strain on the ligaments of the knee. To avoid this, gently push your knee outwards towards the little toe side of your foot, which will also engage the glute muscles.
- Keep your back leg straight and engaged, pressing firmly through the foot
- Stretch your arms out to shoulder height and look over your front middle finger
4. Goddess Pose / Horse Stance
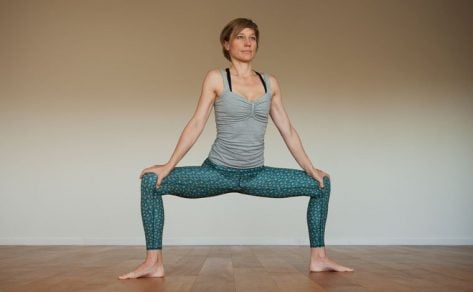
This pose builds both strength and flexibility in the hips and legs, and you can advance the pose as you become stronger and more flexible. Whilst working on the lower body, play with different arm variations such as eagle arms, cow face arms, or raising your arms above your head for more of a challenge.
To practice:
- Step your feet wide apart
- Bend your knees and squat as low as you can comfortably, pressing your knees outward
- Similar to warrior 2, weakness or tightness in the legs and hips can cause the knees to collapse inwards, so be sure to press them outwards
- Hold the pose for five breaths, then return to standing
Try the Goddess Pose Flow class with Marlene Henny here.
5. Anjaneyasana / Low Lunge (hip flexor stretch variation)
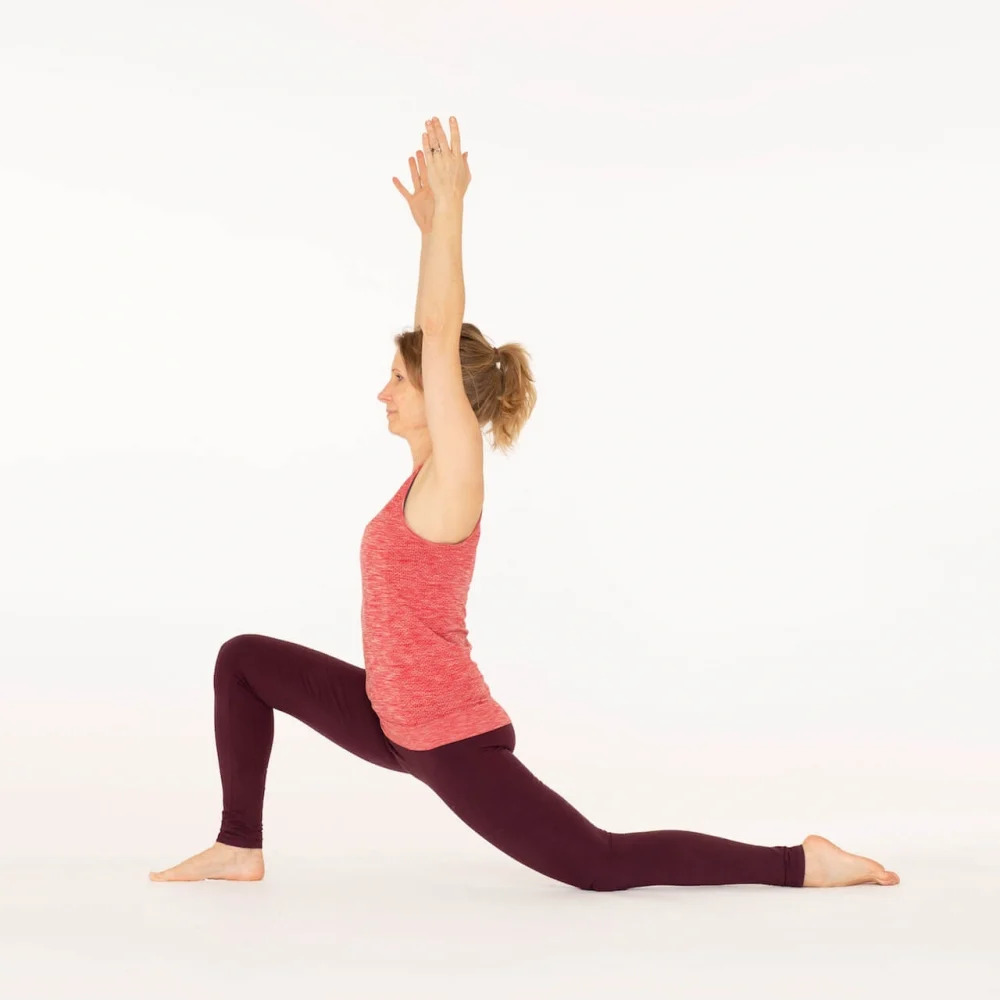
A simple yet very effective stretch for the hips, this pose is especially great for stretching the hip flexors, which can become tight after long periods of sitting or driving. If you experience lower back pain, try using this pose to stretch your hip flexors, which can often provide relief. The instructions may sound strange for this pose, but they really work! To practice:
- Kneel on the ground, then step one foot forward
- Ensure your front knee is over your front ankle
- Place your hands on your front knee
- Tuck your chin to your chest, and tuck your tailbone underneath.
- At this point, you may feel a stretch in your hip flexor or thigh muscle
- If you can’t feel a stretch, gently push your hips forward
- Hold for five breaths, then repeat on the other side
6. Parighasana / Gate Pose
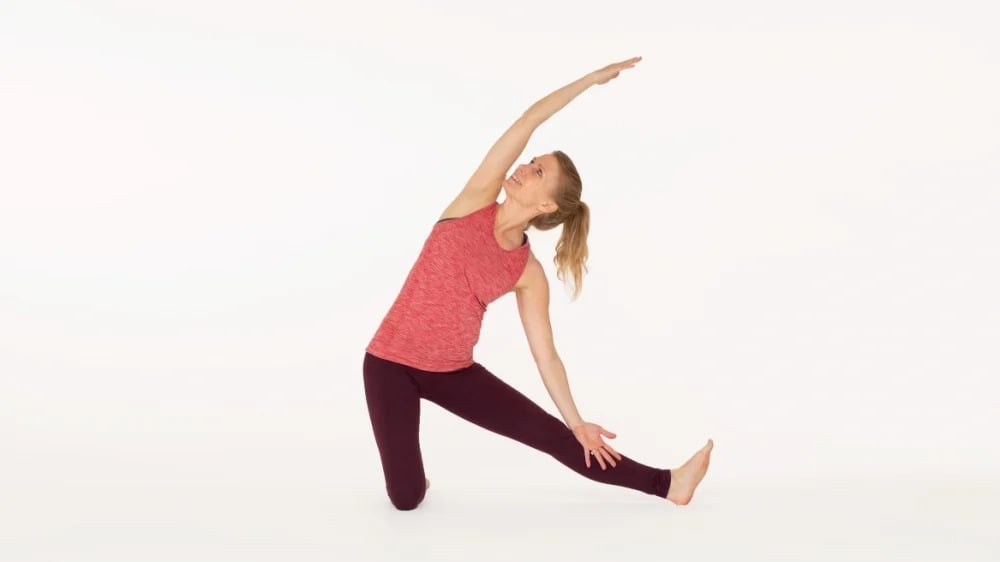
A great pose for tightness around the inner thighs and sides of the body, this pose is a good choice to follow on from a low lunge, so you can stretch around lots of different hip muscles. To practice:
- Kneel on the ground
- Step one foot out to the side, stretching your leg out straight
- Slide one hand down the outer edge of your straight leg, moving into a side stretch
- Lift your other arm alongside your ear
- Hold for five breaths, then repeat on the other side
7. Malasana / Yogi Squat
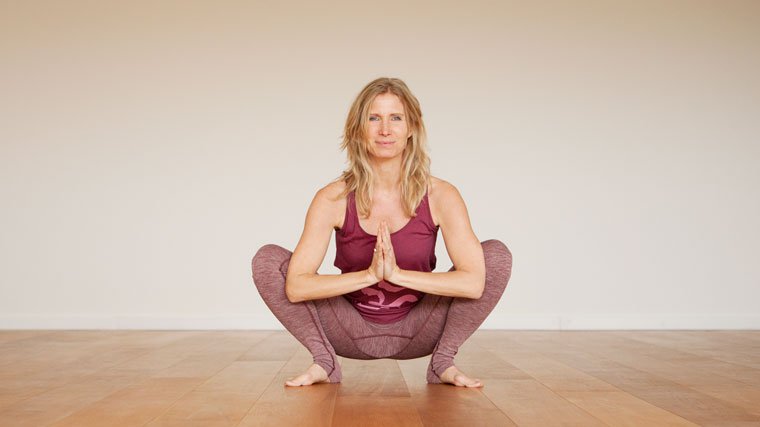
For those with ‘tight hips’, this can seem like an intimidating pose, especially if everyone else in class seems to be doing it easily! The shape of your hip bones and joints will have a big impact upon how easy or challenging it may feel to sink down into this pose, so take it slow and use modifications and props if needed. In many countries, this pose is adopted on a daily basis whilst socialising, cooking or going to the toilet, and many children play and rest in this pose too. To practice:
- Place your feet a little wider than hip distance apart
- Bend your knees and squat down as low as is comfortable for your body
- If you feel any pain, stop and move back to the position where there is no pain.
- To modify, bends your knees and place your forearms on your thighs so you are not squatting quite as low, or place two yoga blocks under your heels to make the pose more accessible.
- Place your palms together, if possible hold for five breaths, then slowly come back to standing
Practice different squat variations in Mark Freeth’s Squats class here.
8. Baddha Konasana / Bound Angle Pose
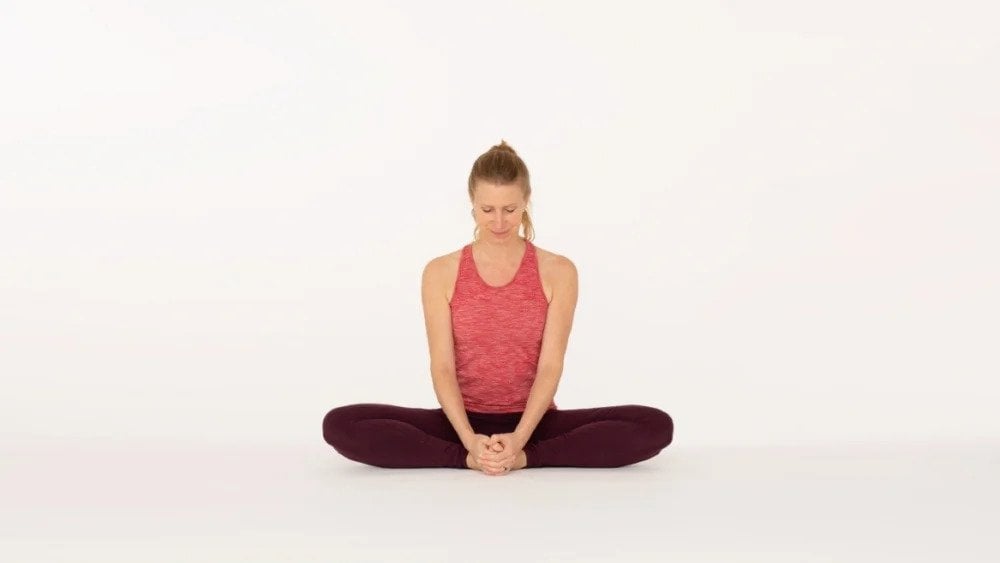
A great pose to help stretch the lower back, hips and thigh muscles, this pose can also be modified to suit your needs. If your back is feeling tight, sit up on a blanket or block, and don’t worry about forcing your hips to ‘open’, simply relax the muscles instead. To practice:
- Sit on the ground (on a blanket or block if needed) and bring the soles of your feet together
- Let your knees drop out either side, and gently fold forward until you feel a stretch
- Hold for five breaths, then return to a seated position
You’ll find plenty of seated hip stretches in Hip openers for a comfortable seat with Andrew Wrenn
9. Eye of The Needle
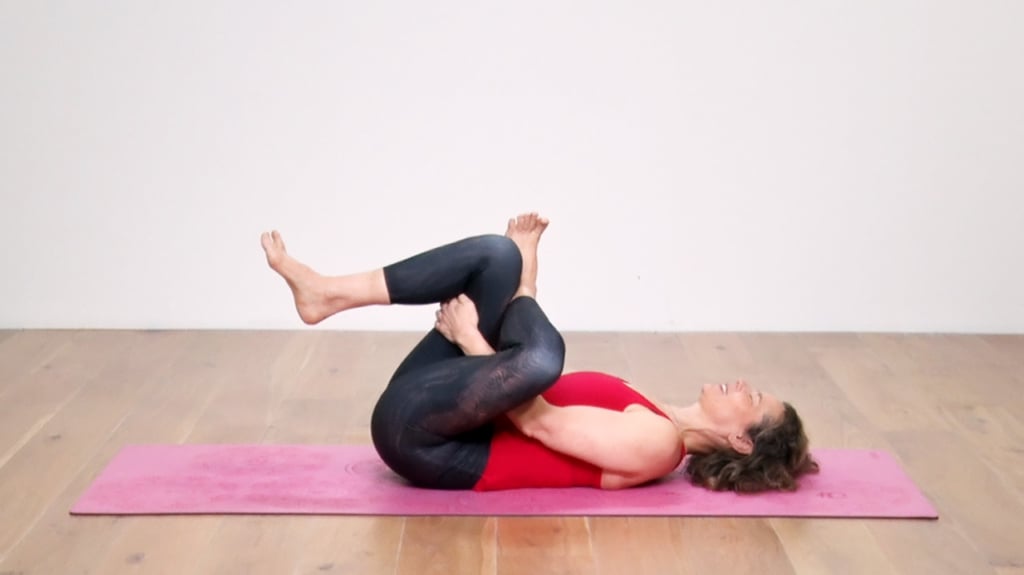
You’ll probably have seen many people practicing this stretch to release tension in the glutes and hips. To get the most out of it however, there are a few key nuances to be aware of. To practice:
- Lie on the ground with your knees bent and feet flat to the floor
- Lift your right leg up and cross your ankle over the opposite knee
- Be sure to flex your foot and gently push your knee away from you (without touching it with your hands) to properly engage the outer hip muscles and feel a deeper stretch
- Stay in this position if you feel a satisfying stretch, or use your hands to gently pull your left thigh towards you, deepening the stretch around the glutes and IT band.
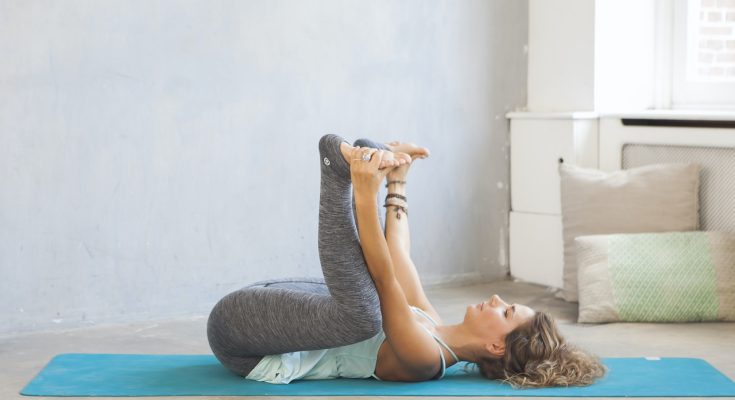
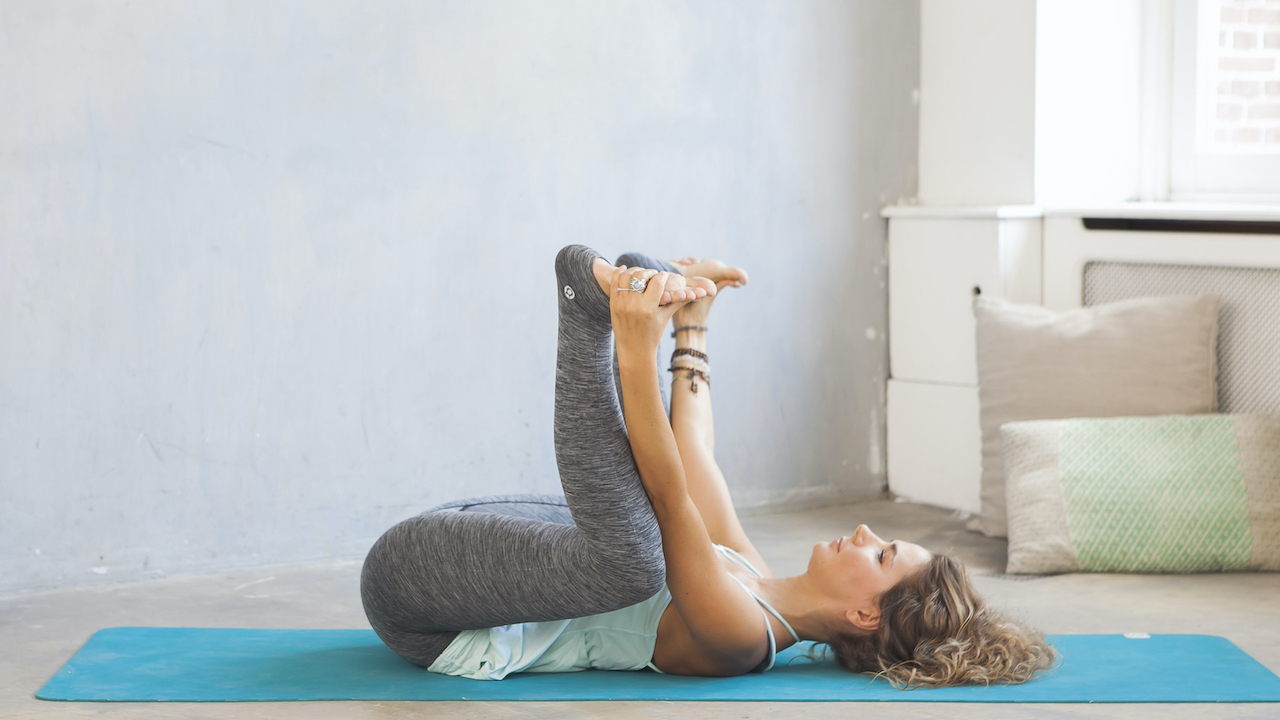
10. Ananda Balasana / Happy Baby Pose
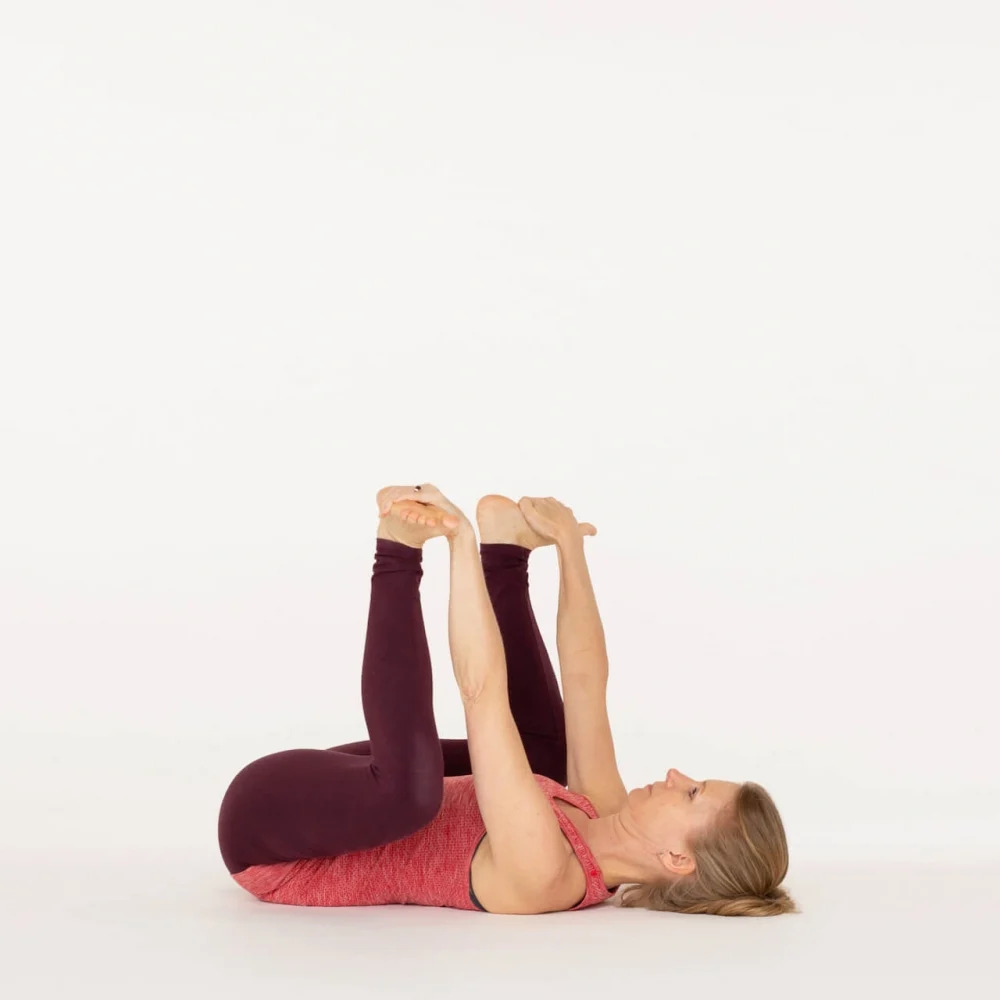
If you’ve spent enough time around babies, you’ll have seen them doing this shape a lot! Mimicking the innocence and happiness of a baby, this pose is all about gently and passively stretching the hip muscles, and works on similar muscles to Malasana. To practice:
- Lie on the ground with your knees bent and feet flat to the floor
- Lift your legs up, keeping your knees bent
- Reach up and hold your feet, gently pulling them down towards the ground, so you feel a stretch around your hips
- If you are unable to reach your feet, simply hold your thighs and gently pull down towards the ground until you feel a stretch
- If it feels good, try rocking side to side to massage your lower back here too
- Hold for five breaths, then lower your legs and relax.
